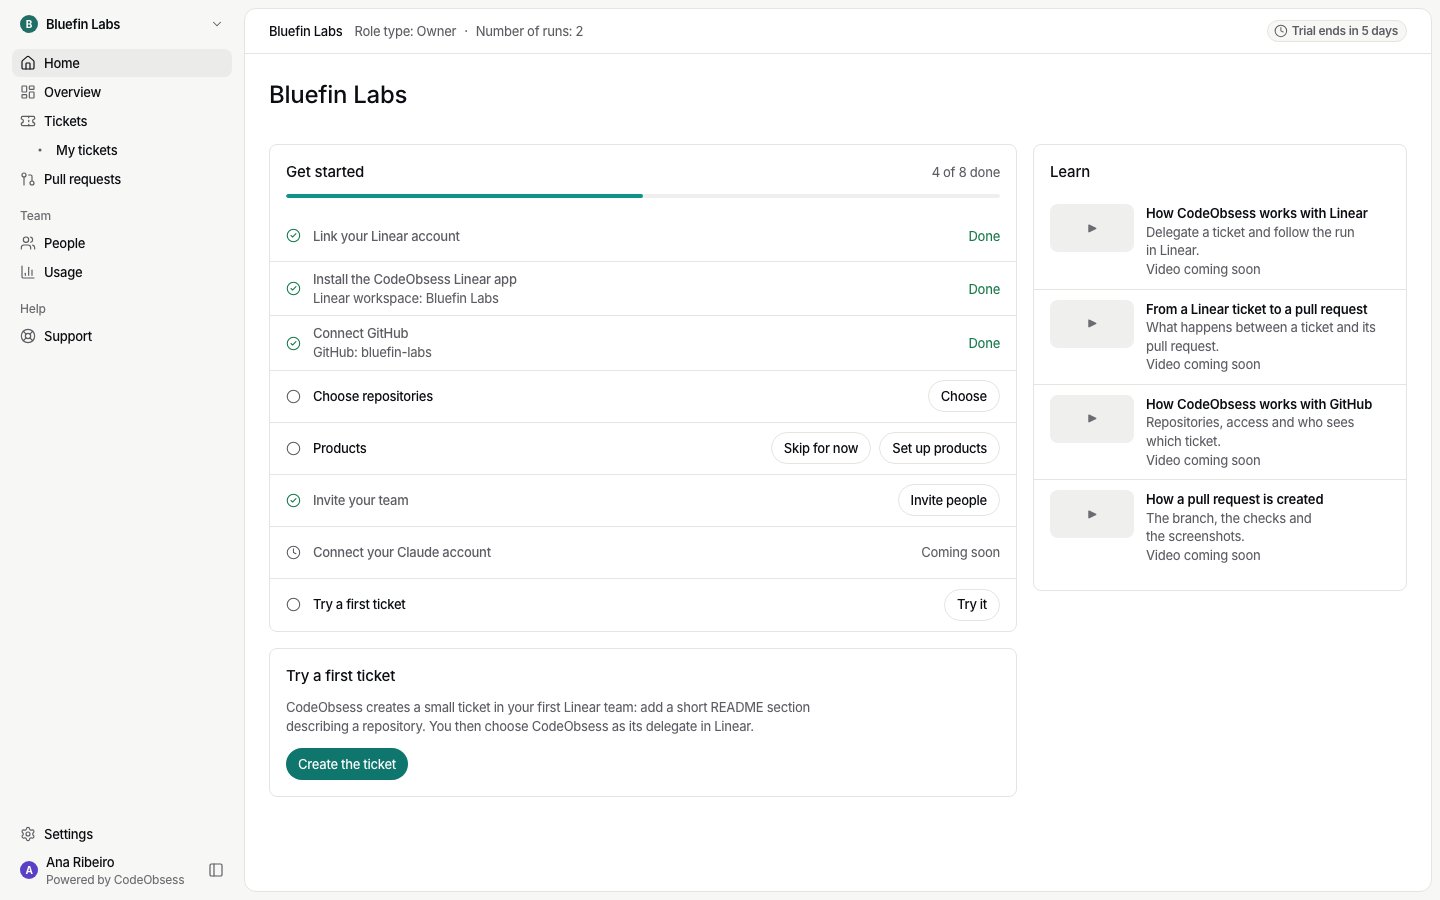
1. Choose where your code is
Home asks Where is your code? Choose GitHub or Bitbucket. You choose this once; to change it later, contact CodeObsess. Then connect it:2. Choose your ticket tool
Home asks where your tickets live: GitHub Issues, Linear or Jira. CodeObsess picks up work from that tool and reports back there. GitHub Issues works only with GitHub as the code host. Then follow its steps: Owners and admins can change the ticket tool later in Settings › General. After a change, nothing new starts from the old tool. Tickets already running there, or waiting for your answer, still finish there.3. Choose your repositories
On the Choose repositories step, pick the repositories CodeObsess may work in:- Write: CodeObsess may change it and open pull requests.
- Read-only: CodeObsess reads it but never changes it.
- One repository is the Main repository: where CodeObsess starts work and opens pull requests. It must be one CodeObsess can write to.
4. Invite your team and connect AI
- Invite your team from People. See Invitations.
- Connect your Claude account, or add a company AI key. See Which AI runs a ticket.